


Forcing a Windows crash dump in Vmware ESXi
Am vazut ca subiectul din titlu e o problema pentru multi ce ruleaza Windows pe Vmware. Dar dupa ce o sa cititi acest post sper sa fie destul de simplu (excludem metodele cu debuggerul ca sunt pentru avansati).
Prima metoda e prin generarea crashului de la tastatura asa cum este descris aici: http://msdn.microsoft.com/en-us/library/windows/hardware/ff545499(v=vs.85).aspx (Minim W2K3 SP2 sau chiar si SP1 cu un hotfix)
You must ensure the following three settings before the keyboard can cause a system crash:
1.If you wish a crash dump file to be written, you must enable such dump files, choose the path and file name, and select the size of the dump file. For more information, see Enabling a Kernel-Mode Dump File.
2.With PS/2 keyboards, you must enable the keyboard-initiated crash in the registry. In the registry key HKEY_LOCAL_MACHINE\System\CurrentControlSet\Services\i8042prt\Parameters, create a value named CrashOnCtrlScroll, and set it equal to a REG_DWORD value of 0x01.
3.With USB keyboards, you must enable the keyboard-initiated crash in the registry. In the registry key HKEY_LOCAL_MACHINE\System\CurrentControlSet\Services\kbdhid\Parameters, create a value named CrashOnCtrlScroll, and set it equal to a REG_DWORD value of 0x01.
Una din problemele aparute cu aceasta metoda este ca se incearca combinatia de taste CTRL + SCROLL LOCK din RDP, sau folosind clientul Vsphere tot dintr-o sesiune RDP. Nu merge. Trebui sa va conectati direct (de pe sistemul local, fara RDP) la Vcenter sau host-ul ESXi cu Vsphere Client. Din acest moment se poate genera crash-ul la consola masinii virtuale. Tipul tastaturii este PS2.
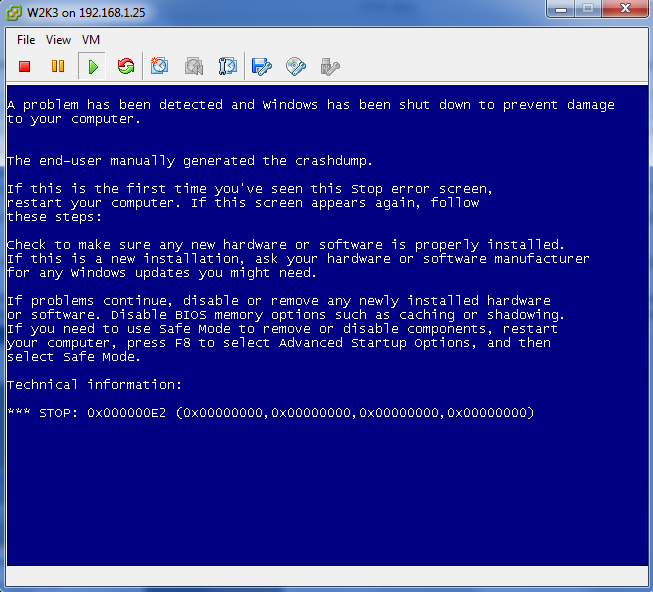
In acest moment trebuie sa tineti apasata tasta CTRL din dreapta si sa apasati de doua ori SCROLL LOCK. Rezultatul este mai jos:
Bun, si acum sa vedem inca o metoda care poate fi folosita atunci cand varianta de mai sus nu functioneaza. Este metoda NMI (Non-Maskable Interrupt) si o gasiti descrisa in acest KB: http://support.microsoft.com/kb/927069
Pe scurt, trebuie activat dump-ul si adaugata in registri cheia HKEY_LOCAL_MACHINE\SYSTEM\CurrentControlSet\Control\CrashControl\NMICrashDump cu valoarea 1. Dar ca sa nu imi scape nimic pun mai jos toti pasii din KB:
1.Set up the page file to generate a complete memory dump file. For more information, click the following article number to view the article in the Microsoft Knowledge Base:
108393 The /maxmem switch in the Windows Boot.ini file
2.Right-click My Computer, and then click Properties.
3.Click the Advanced tab.
4.Under Startup and Recovery, click Settings.
5.Make sure that Kernel memory dump or Complete memory dump is selected under Writing Debugging Information.
6.You can change the location of the memory dump file to a different local partition if you do not have sufficient room on the partition where the operating system is installed. For more information, click the following article number to view the article in the Microsoft Knowledge Base:
886429 What to consider when you configure a new location for memory dump files in Windows Server 2003
For more information, click the following article number to view the article in the Microsoft Knowledge Base:
885117 "Kernel Memory Dump" is displayed in Startup and Recovery, but a complete memory dump is performed in Windows 2000 or in Windows Server 2003
7.In Registry Editor, locate the following registry subkey:
HKEY_LOCAL_MACHINE\SYSTEM\CurrentControlSet\Control\CrashControl
8.Right-click CrashControl, point to New, and then click DWORD Value.
9.Type NMICrashDump, and then press ENTER.
10.Right-click NMICrashDump, and then click Modify.
11. In the Value data box, type 1, and then click OK.
12.Restart the computer.
13. Hardware vendors, such as HP, IBM, and Dell, may provide an Automatic System Recovery (ASR) feature. You should disable this feature during troubleshooting. For example, if HP and Compaq’s ASR feature is enabled in the BIOS, disable this feature while you are troubleshooting to generate a complete memory.dmp file. For the exact steps, contact your hardware vendor.
14.Enable the NMI switch in the BIOS or by using the Integrated Lights Out (iLO) Web interface.
Note For the exact steps, see the BIOS reference manual or contact your hardware vendor.
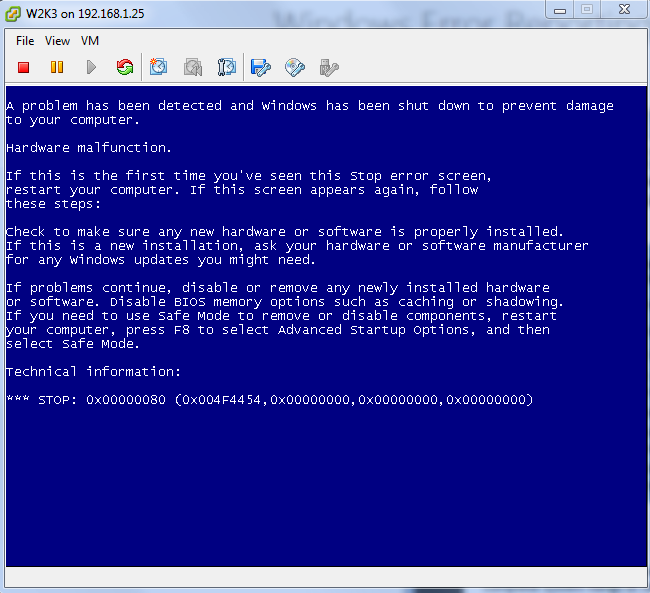
15. Test this method on the server by using the NMI switch to generate a dump file. You will see a STOP 0x00000080 hardware malfunction.
16.Wait for the problem to recur.
Dar cum in masina virtuala nu avem buton de NMI, ce facem? Vmware are propria metoda de a genera un NMI si iata ce trebuie sa faceti
1. Deschideti un SSH pe host-ul cu masina virtuala.
2. Rulati esxcli vm process list

3. Rulati urmatoarea comanda: /usr/lib/vmware/bin/vmdumper <worldid> nmi. Inlocuiti <worldid> cu world id-ul obtinut in pasul 2.

V-am mai spus, mai exista si varianta cu Live Kernel Debugger dar cred ca metodele de mai sus sunt suficiente pentru un admin. Mai mult de atat parca nu mai e treaba noastra ![]() .
.